Hi guys! Many of you may be asked to shoot video while you are working from home. Maybe it is for your company’s social media marketing… or maybe it is part of your job but you normally have a camera-person. If you are faced with this you may be wondering, how in the world do I shoot good video? Well, I’m glad you asked! Below are just a few tips to help you get started!
What Do I Use To Shoot My Videos?
Your phone! All smartphones have a camera option and within the app you will see the video option.
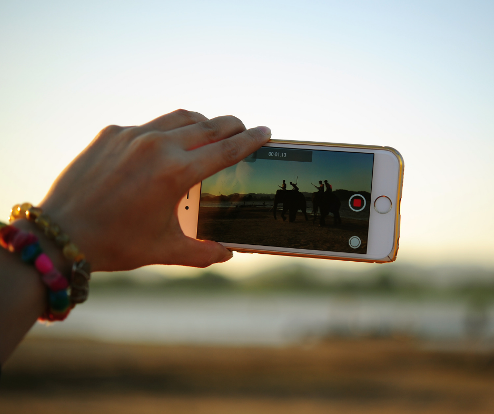
How Do I Hold the Phone?
Sideways! This is big guys. You want the screen on your camera to be shaped the same as your television. Think widescreen. This is critical because if you hold the phone up-and-down then we have to zoom waaaay in to have the footage fill the screen. This degrades quality and cuts out much of the picture. Sometimes we can’t even zoom in far enough and what we have is completely unusable footage. What a waste of your time! To avoid this just make sure to ALWAYS turn the camera sideways. Remember think widescreen.

Types of Shots
There are basically three types of shots when creating a video using your phone. Below we will lists the types of Do It Yourself Video shots and give you a little more detail on how to use them.
The different types of mobile phone video shots are:
- Wide
- Medium
- Tight
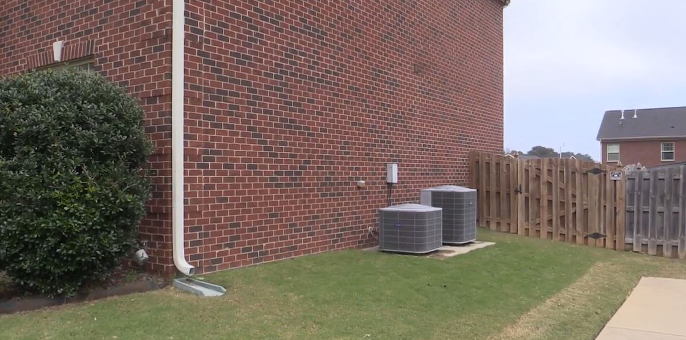
Wide shots have the lots of space around the subject like this:

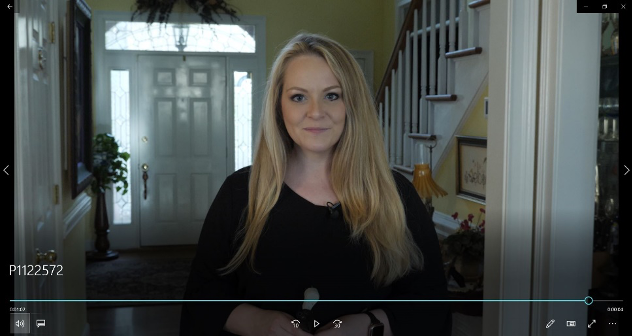
Medium shots have less space around the subject:

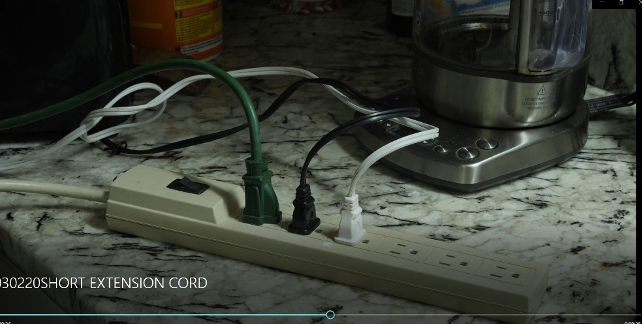
Tight shots are very close-up:

So, what kind of shot should you use? You have to use your best judgement but if it were me, I would get one of each! Gauge what you think best showcases the subject matter. Are you showing a repair to a small part? You might want to use a tight shot. Are you showing a new unit you just installed? This might be the time to go for a medium or wide shot.
Hold it Steady!
Its important to hold the phone as steady as possible. This can be difficult so you might want to practice! Hold the camera with both hands and keep your feet planted and about hip-width apart. Sometimes I even find that holding my breath helps!
To Pan or Not to Pan?
Panning is when you move the camera from side to side. We often do this to make a simple shot that has no motion in it- like one of an AC unit- look more interesting! It can be tricky to keep panning shots steady. Remember to plant your feet and keep them about hip-width apart. Don’t rotate at your shoulders, rotate at your waist while keeping your arms and shoulders straight.
How Long Should it Be?
Well, that varies but a good estimate is about 8-10 seconds. If you are doing a panning shot just make it as long as the pan takes, leaving a little pad time at the end. What does that mean? It means after your finished keep rolling for about one second, this gives us room to edit!
For help or more information on how AD4! group can help you with your videos check out our Video Production services. Or, if you need help with your marketing and branding for your business, feel free to contact us today!
